


Key Takeaways
●Spur gears are essential for transferring motion and power between parallel shafts in various industries, including automotive and aerospace.
●Understanding gear ratios is crucial; they determine how speed and torque change between gears, impacting your project’s performance.
●Selecting the right size, tooth count, and material for spur gears ensures smooth operation and longevity, so consider your application carefully.
●Regular maintenance, including proper lubrication and alignment checks, keeps spur gears running efficiently and prevents costly failures.
●Using CAD software for design and testing helps optimize gear performance and avoid installation mistakes, saving time and resources.
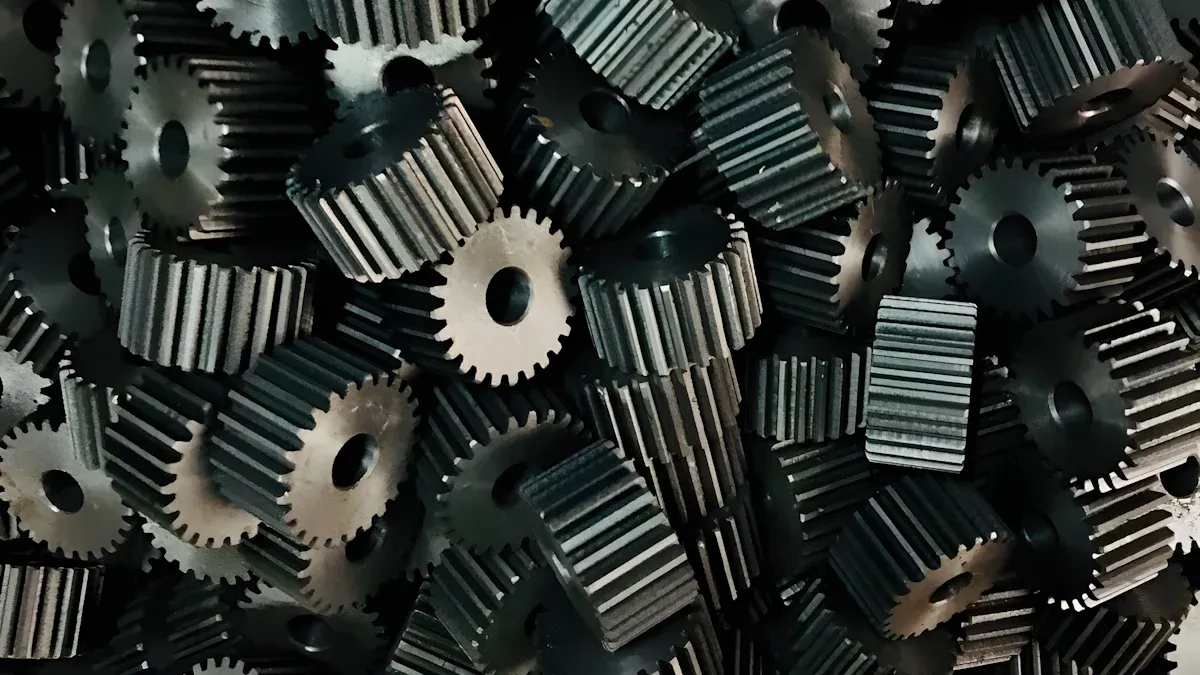
What is a Spur Gear
You see a spur gear in many machines. Engineers define a spur gear as a cylindrical gear with straight teeth that run parallel to the axis of rotation. This gear is the simplest and most common type in mechanical drive systems. You use it to transfer power and motion between two parallel shafts. Spur gears stand out because their teeth do not create axial thrust, which means they push straight instead of sideways. You get high mechanical efficiency, sometimes up to 99%, when you use spur gears in ideal conditions.
Tip: Spur gears work best at moderate speeds. At very high speeds, they can become noisy.
Common Uses
You find spur gears in many everyday machines and industrial equipment. Here are some practical examples:
1.Speed adjustment in machinery.
2.Washing machines, where gears control rotation and torque for different cycles.
3.Road rollers, which use gears to slow down engine speed for the wheels.
4.Sports cars, where gears help the wheels turn faster with less force.
5.Conveyor systems, which need gears to change torque and control speed.
Spur gears fit a wide range of power transmission needs, from small devices to large power plants. You rely on them for efficiency and reliability in systems like automotive transmissions and conveyor belts. Spur gears can transfer large amounts of power with very little energy loss.
Spur Gear Installation
You must prepare carefully before installing a spur gear. Good preparation helps you avoid mistakes and keeps your project safe. Start by gathering all the tools and parts you need. Common tools include wrenches, screwdrivers, alignment gauges, and a clean cloth. If you use 3D printed gears, you may also need a deburring tool to smooth rough edges.
Safety comes first. Follow these steps to keep your workspace safe and organized:
- Keep your workspace clean to prevent mistakes.
- Make sure the installation area is level.
- Gather all mounting equipment before you begin.
- Watch out for hazards or obstacles around your work area.
Check your gear and shaft for dirt or damage. Clean both parts with a dry cloth. Lay out all parts in the order you will use them. This makes the process smoother and helps you spot missing items.
Mounting and Alignment
Mounting the spur gear on the shaft is a key step. Slide the gear onto the shaft gently. Use a key or set screw to secure the gear in place. Make sure the gear sits flat against the shaft shoulder. If you use a hub or bushing, tighten it evenly.
Proper alignment is very important. If you do not align the gears, you will see uneven wear and hear more noise. Misalignment causes non-uniform contact between the teeth. This leads to faster wear, pitting, and even damage to the bearings. You want the gears to mesh smoothly, with the teeth fitting together without gaps or extra pressure.
Follow these steps for good alignment:
- Place both gears on their shafts.
- Use a straight edge or alignment tool to check that the shafts are parallel.
- Adjust the position of the gears so the teeth line up perfectly.
- Rotate the gears by hand to check for smooth movement.
- Tighten all fasteners once you confirm the alignment.
If you design your assembly in CAD software, use the alignment tools to check the fit before building. This helps you avoid problems during installation.
Tip: For 3D printed gears, do not force the gear onto the shaft. If it feels tight, sand the bore slightly for a better fit.
Testing and Adjustment
After you mount and align the spur gear, you need to test the assembly. Testing helps you find problems early and ensures smooth operation. You can use several methods to check your gear:
- Track wear using image processing.
- Measure gear performance with optical tools.
- Use a master gear tester to check the testing radius.
- Check all teeth with the dimension over pins method.
- Weigh the gear to see if it has lost mass from wear.
- Measure tooth thickness to spot wear.
Start by rotating the gears by hand. Listen for unusual sounds and feel for rough spots. If you hear noise or feel vibration, stop and check the alignment again. You may need to adjust the gear position or add lubricant.
To reduce noise and vibration, you can:
- Use high-quality lubricants made for gears.
- Check that the gears have the right amount of backlash.
- Make sure the gears share the load evenly.
- Inspect the gears often for signs of wear or misalignment.
- Use rubber mounts or vibration isolators if needed.
If you want even quieter operation, consider using helical gears or adding noise-dampening materials to the gear housing.
Note: For easy removal and maintenance, use gears with set screws or split hubs. This makes it simple to take the gear off for cleaning or replacement, especially with 3D printed gears.
You should test the gear assembly after any adjustment. Regular checks help you catch problems early and keep your machine runn
Post time: Jan-19-2026